Showing posts with label spray paint. Show all posts

2.16.2012

Face Lift For Those Vases

And my Pinterest projects continue.  This one was simple and quick.  I did it in a total of about an hour and a half.  Bada-bing bada-boom.  Done.

I made something similar to these:
They are painted vases (and even old canned food cans).  Totally easy, and totally my style.  

Start off with vases, puff paint and tape (act like you don't see the whole puncher.  i didn't end up using it after all).
Then start making your design with your puff paint.  Dots were easy enough for me.

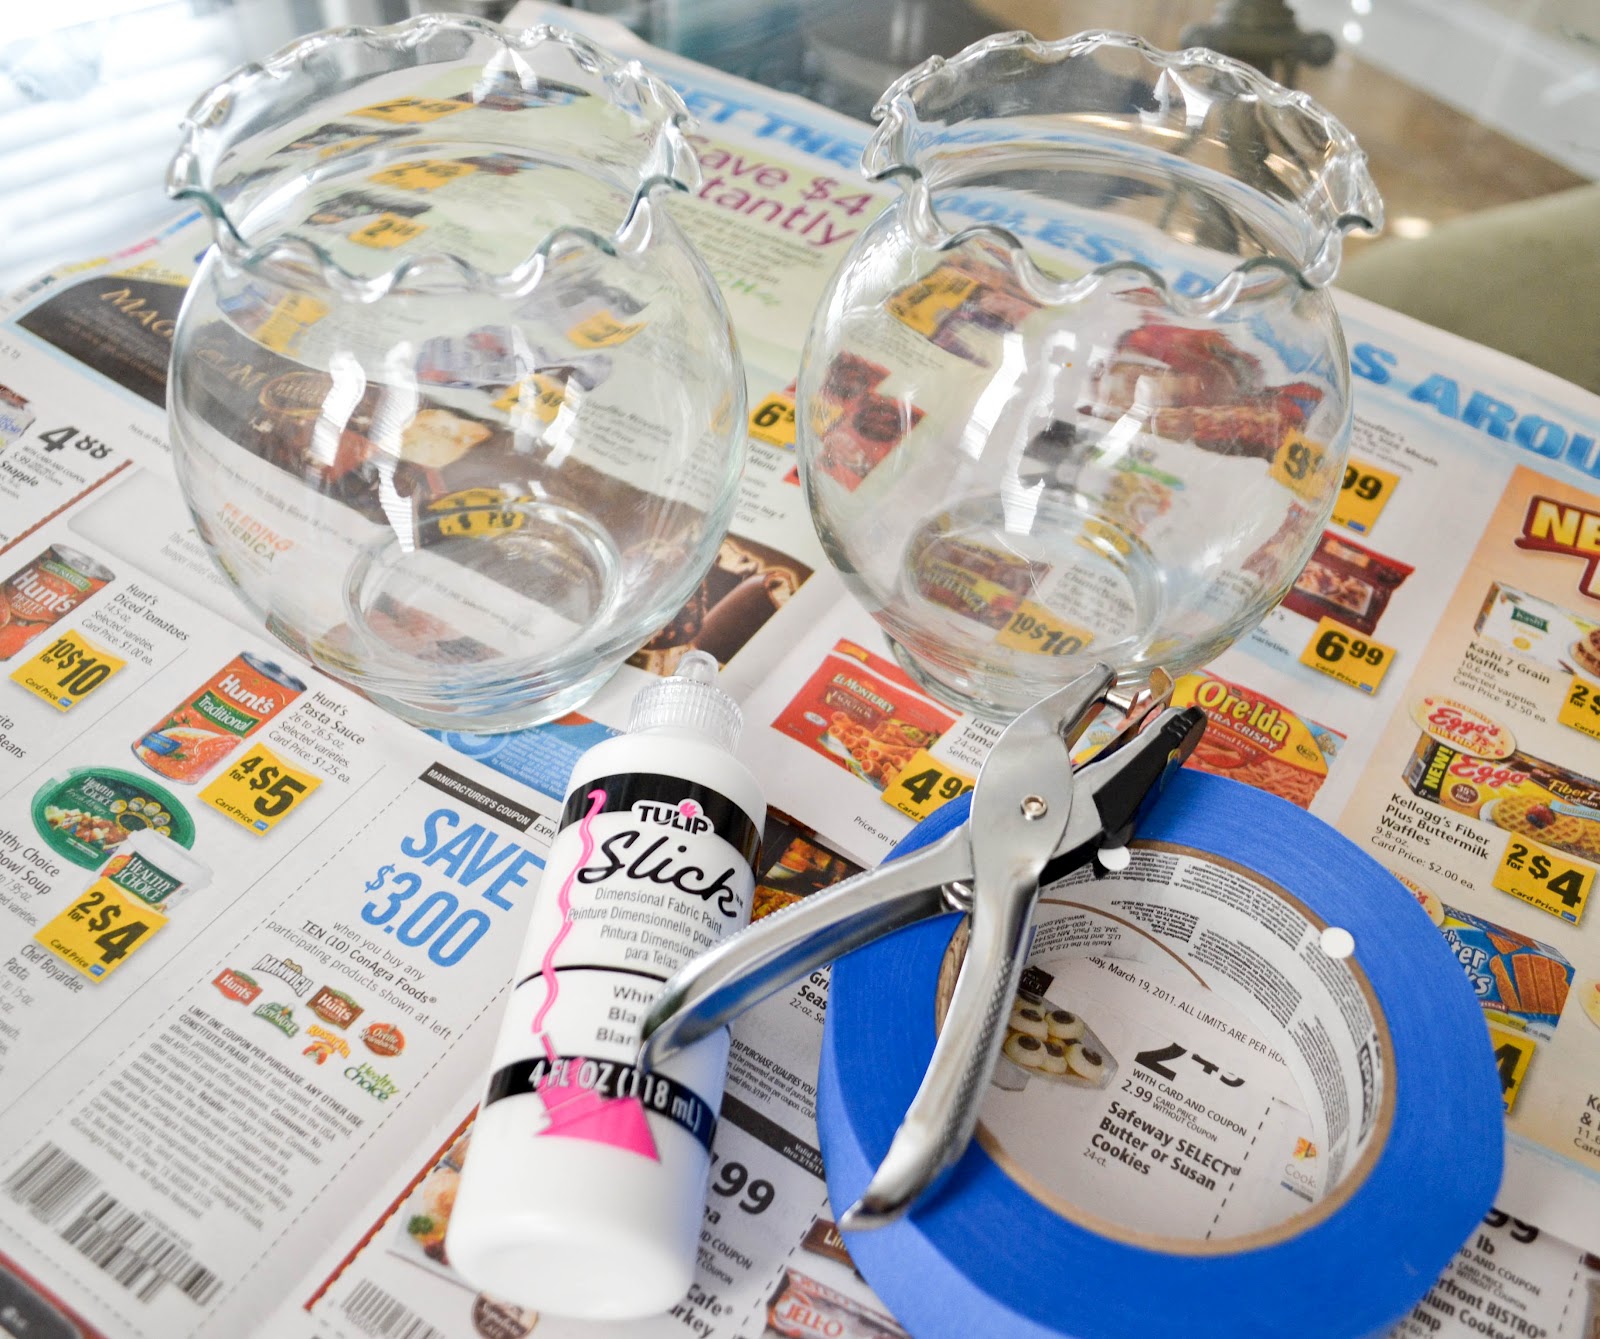
For the smaller vases, I made stripes.  Dots and stripes, can't get much easier than that.
When I took the tape off, I made another stripe between the existing stripes.
Then, spray paint them!  I chose to use colors that I already had on hand.
This is after my first coat.
Love this color.  It's so bright and cheery.
After about 4 even thin coats of paint.....you get this.  :)

The other vases haven't found a permanent home just yet.  But when they do....you know I'll share!

The best thing about this project was.....yup, you guessed it....it was F.R.E.E!!!  I already had the vases, paint, puff paint and tape.  So it was a must that I give some of my vases a face lift.  It was time.  :)

xoxo,
~Jeni

11.15.2011

Framed Fabric

4 words: I love Nate Berkus.

Yep, I do.

Very much so.

I love everything about him, his style, his show, his face, his personality, everything!  I'm convinced it's a celebrity crush.  Sorry, Jer.  I'm sure you understand, though.

Anyway, I record his show every day and try to watch it at night (most of you know I rarely turn my tv on during the day so I can focus on my B-man) after the little guy has gone to sleep.  Then I dream of doing everything he presents on his show.  I have a huge laundry list of things to do all because of his show.

One thing that I've always noticed were the frames on his set walls.  One in particular...
.....see that white frame with the blue and white picture inside of it?  Something about that frame has always caught my eye.  I've always kinda liked it.  I wasn't sure what that picture was but to me it looked a little like fabric.

Months ago my marbles started turning and I started to think I could "re-create" something similar for my living room.  Since we've lived here, I've needed something to put next to our tv.  It's always been so bare.  But I wanted something with a little color and I didn't want any family pictures so I knew this idea would be perfect.
Last week, Veteran's Day to be exact (why did I remember that?  You'll see why below), I went to my favorite store evah, Goodwill.  I went in search of frames.  Frames big enough to fill some of that space next to the tv.  But I wanted them to be matching and the same size.  Easy, right?  Well actually it was.  I went straight to the frames section and didn't have to search long before I found 2 big frames that were the same size with the same looking frame!
There were just two different colors.    
They only thing I noticed was that they had two different price tags.

$8.75 and
 $6.50.
But I didn't care I was going to get them regardless.  However, when I got to the register I asked her why they had to different prices if they there the exact same size.  Then I proceeded to ask her if I could have them both for the lower $6.50 price and she said, "yes."  Then she said that since it was Veterans's Day, they were having a sale on all frames...Buy One Get One Free!  Score.  That's when I knew this project was meant to be.

When I got home I immediately went to work on my project after I put B down for his nap.  This gave me about an hour and a half to work.

First things first, to take the glass out of the frame.
 But then I noticed this...glue!  Glue holding the glass and backing in the frame.
So I broke out my exacto knife and proceeded to cut the glue out.  Luckily it came/popped right off as I cut along the edges.
Once the glass was out of the frame, I used my 3M sanding block and sanded the frame where the paint was chipped off.  I wanted to smooth out the frame.

Since I wanted a white frame, I chose to use Rustoleum's Gloss White.  I typically don't ever use a glossy paint but I wanted my frames to shine!  :)
Here's one of the fabric designs that I chose.
I started by using the backing that was already in the frame when I bought it as my template for cutting my fabric.   
 I cut about an inch off of the backing all the way around it.
 Here it is cut all the way around.
 I used that inch hangover to hot glue it to my backing.
My mistake with this one is that I didn't flip over the backing so that the picture on it wasn't directly behind the fabric.  Once I turned it over (after it was all glued) I noticed that you could slightly see the picture through the fabric.  :(  
 Here's my second fabric choice for the second frame.
 This time, I flipped the backing over so that the you wouldn't be able to see it through the design of the fabric.  Then I glued it!  Here it is ready to be framed.
 The Mr. holding it up for me.  I was surprised that he let me "eye ball it" since he's such a perfectionist and typically has do all kinds of measurements/calculations to make sure pictures are in the exact spot.  
 And, their hung!
I really love the designs and colors.  The pictures don't do them justice.  Natural light really shows their true colors.  Their very bright and refreshing on our neutral colored walls.  I'm really digging the coral color in them.  
After about an hour of looking at them, I decided that I wanted them switched.
 Much much better.

This was a pretty fun and super easy project.  

Speaking of projects, there's been a few that I've been working on for about 3 weeks.  I can't wait to share them.  They are all for....CHRISTMAS!!!  

~Jeni
 

3.23.2011

Grandma's Rocking Chair

Years ago my dad gave us this rocking chair that was his mom's, my Grandmother's.  It sat in our guest bedroom for a long time looking like this but with white cushions for the back and bottom. 
Recently, we had moved it into the nursery to use when we went up there since Bos was still staying in our room.  A few weeks ago, it caught my eye...and you know what that means.  I knew it needed to be changed a.k.a. spray painted (my secret addiction) so I went to work at finding that perfect color for it.  While at Lowe's one day, I scanned the spray paint section and narrowed it down to either, white, black, yellow or red.  I knew that it would go back into our guest bedroom so giving it a bright color would add "spark" to that room.  Then it came down to red or yellow.  But since I think I want to paint the dresser in that room red eventually, (that is, unless I chance my mind which I'm notorious for doing) I decided yellow would be the color!   
here she is...looking like a Hot Banana
she's now sittin' pretty in her home - our guest bedroom.  I just love her new color.
 
The color I used was Rustoleum's Warm Yellow - Gloss.  What do you guys think?  Should I have gone with red or does yellow fit her well? 

Happy Hump Day,
~Jeni
Related Posts Plugin for WordPress, Blogger...