

I originally drug my heels on this project, because I actually thought it was not likely to work. I'm glad I finally got around to doing it, because the one I bought and installed for our master bathroom works great, actually increasing the power of each flush so that less water is no problem, and is already saving us water and cash. Right on.
I tried to find the converter kit at Lowe's. While they have one model toilet that is of the dual flush genre, they were not yet carrying the converter kits for float valve toilets like ours. So, I went to Amazon.com to see what they had. Amazon had several brands, but I went with the "ONE2FLUSH Dual Flush Toilet Conversion Kit Bonus Pack," which ran about $30, with an additional $6 in shipping/handling. These can also be found at http://www.beingwater.com/one2flush-dual-flush-kit. Even though this site sells the kits at only $28, the shipping/handling would have been over $11 to ship to our zip code, so we saved money by ordering from Amazon. According to http://www.beingwater.com/, this kit can save us 1,000s of gallons of water each year. It's likely we'll install these kits on our other toilets as well.
Here is a series of photos I took during the installation process that show just how easy it was and a little of how it all works. There is also a video posted online at http://www.beingwater.com/ that shows exactly how to install the kit and make adjustments to the devices to affect how much water you will use with each type of flush.
Here's a photo of our original toilet set-up - most likely not too different from yours.

The ONE2FLUSH kit laid out. The far left device is the filler valve that brings water into the toilet tank and the middle device with the blue line coming out of the bottom of it is the flush valve assembly. The filler valve actually comes with a filter that keeps debris from galvanized water lines or elsewhere from going through the equipment. The flush valve assembly has two adjustment sliding levers (not depicted here) that you change once you have the kit fully installed and you are trying it out.

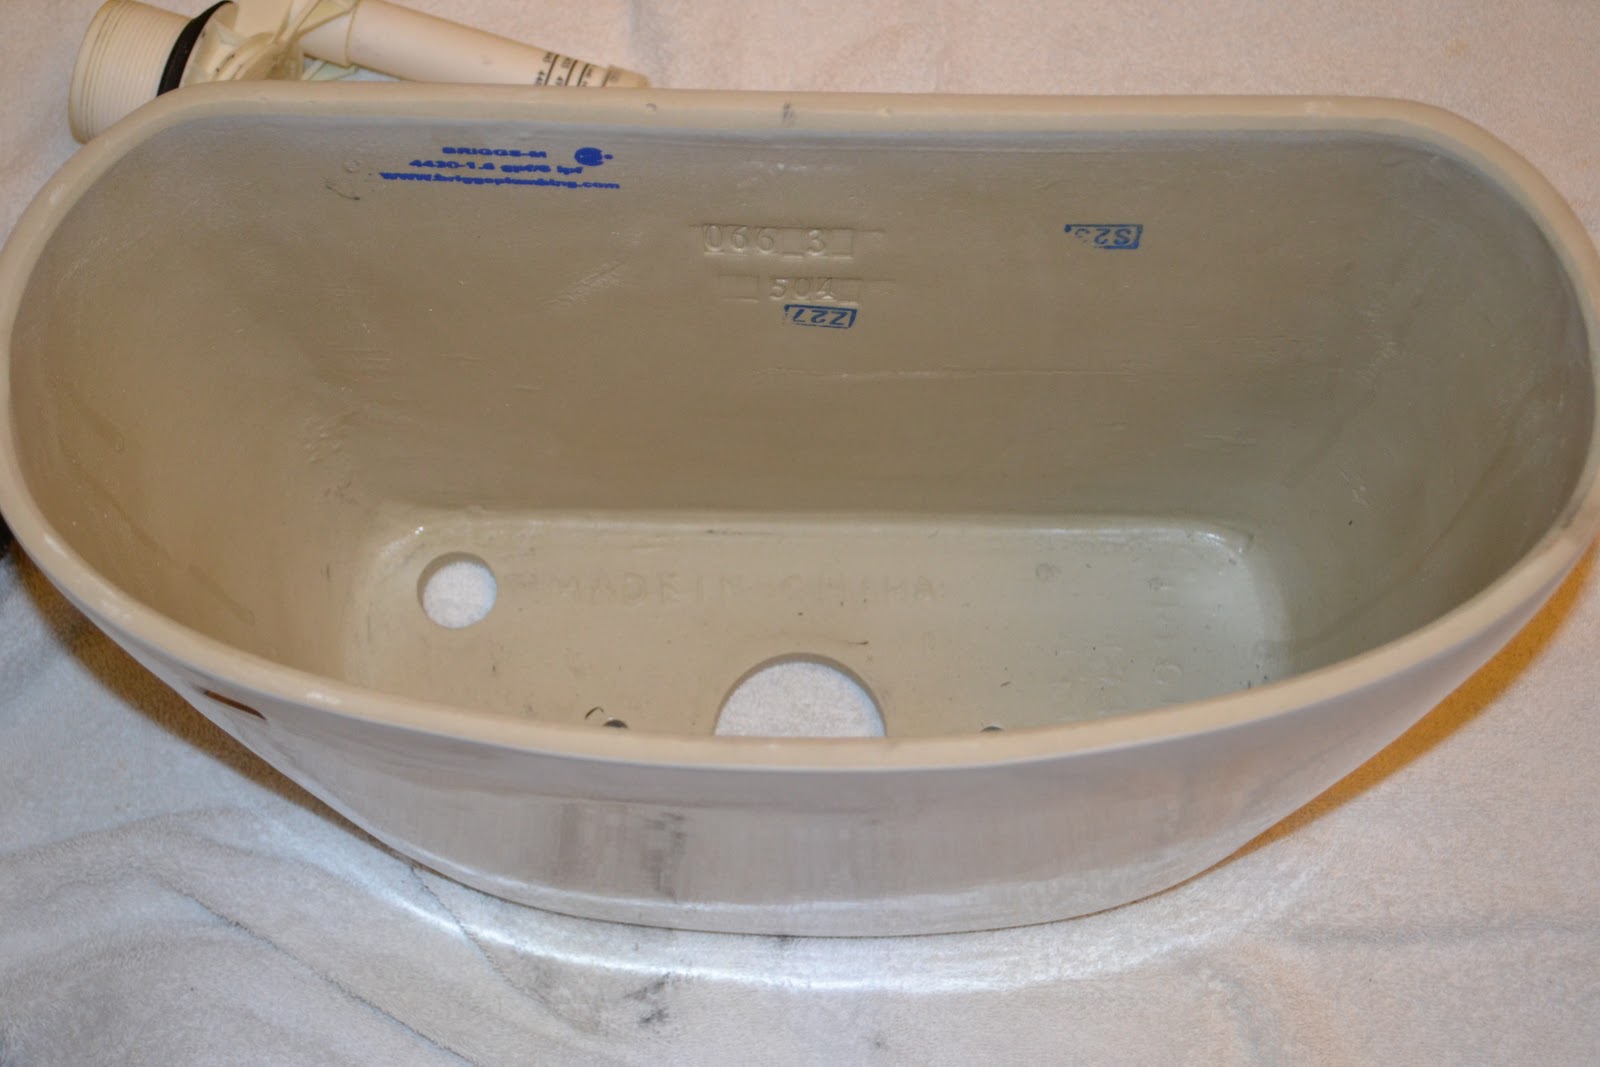
After turning off the water supply and removing the water supply line, I flushed the toilet to get as much water out of the tank as possible. Then, I soaked up the rest of the water in the bottom of the tank with a kitchen towel (I messed up and used a good one and ruined it - sorry Jen). After the water was out, I loosened the two bolts holding the tank onto the toilet and removed the tank. I then removed the old equipment and cleaned up the tank so it'd be ready for primetime.
The whole reason for removing the tank from the toilet is to get the flush valve assembly in place. The box in my right hand with the blue line going to it is actually what the handle eventually attaches to so that when you turn the handle it pulls or pushes a wire in the blue line, depending on which type of flush is called for.

In the top photo below, you might not be able to see this, but it says "FULL FLUSH" above the sliding adjustment lever (blue part). As you'd expect, this is what you adjust to change the amount of water used when the larger flush is selected. Below that is a photo of the adjustment lever for a "HALF FLUSH."


The flush valve assembly is installed.

Next, the tank is reinstalled onto the toilet and the handle box and handle are installed to the front of the toilet. When I first installed the handle, I put it on horizontal like a traditional toilet (as depicted here), but I eventually reinstalled it vertically, as you'll see in photos below.

With the tank reinstalled, the filler valve assembly gets installed through the bottom of the tank (see the back left portion of the tank in this photo) and attached to the water supply line coming from the wall. Then, the wastewater line (white hose) is installed between the filler valve assembly and the overflow port on the flush valve assembly. Notice the star-looking object at the end of the wastewater line on top of the flush valve assembly. This piece is actually a turn dial that can be adjusted so that you can set the amount of water that is wasted during the re-filling of the tank after each flush. This is but one more way this kit allows you to save some water.

After a few flushes to test the adjustments, the work is done and the lid can be placed back on the tank. Jennifer put the sticker with the two water drops on the tank by the handle. Turn right for a little water and to the left for more. ;)

Now, the toilet's practically smiling.

Jeremy
No comments:
Post a Comment