Showing posts with label Big Boy Room. Show all posts

2.05.2014

He's Got The Whole World...

....in his room!

Since we're talking about Boston's Big Boy Room this week.....which has been waaayy overdue (kinda like our Christmas that we haven't talked about...oh, and our vacation from back in October, ha) this post is all about how a map!

A few months ago I was perusing through Hobby Lobby's map section I found this huge map for $9.99 I couldn't pass it up.  And with my 40% off coupon it cost me only a few bones.  Since we plan to incorporate globes, maps and airplanes in his room this map would fit in perfectly and could be great for being used as a focal point in his room.

Since the map wasn't in a picture frame it wouldn't look right with out some type of border or trim around it.

So that's when we hit up the Home "Dep-oh" as Jer would call it.

But first, we had to do a little measuring.  We were curious how much he had grown (since we haven't measured him in over 2 months on his ruler!).
He took his job of helping very seriously.  I think he secretly loves looking at trim as much as I do.  I could walk for days in this store dreaming up projects to do.  
We got home and got straight to work.  We started by spraying this adhesive, from Hobby Lobby, to the wall and then applying the map to the wall where we had sprayed.  I sprayed and Jer gently sealed the map to the wall using his palm.  We went from left to right.  Spraying then applying.  And it worked like a champ.  
That map isn't going anywhere.
Then Jer started the trim building.  Building it perfectly in the middle of his two doors on that wall.  One door leading to his bathroom and one door leading into his closet.
Since it was already late in the evening, he set up shop in our garage (in hopes that it wouldn't be too loud for our neighbors).  He used his saw to cut each trim angle.
If you don't have a nail gun.  Get one.  Like yesterday.  Another favorite tool of ours that we couldn't live without.
After Jer constructed the frame, I went around it with white paint and applied a few coats so that it would match the crown molding trim.  Plus, a coat of polycyrlic.  
Because I love before and afters....
BEFORE
AFTER
Again, it's slowly becoming one of our favorite rooms in the house.  We are so proud of what we've done so far and hope that its a room that Boston can grow into for many years.  

Now to tackle the other 1/2 of the room!  I've already slowly started working on it.  :) 

xo

2.03.2014

A December Eve Bed For A Big Boy

Now that Bossy is well into this 4th year of life we figured it would be prime time to phase out the nursery chapter and open up a new chapter of his life....a big boy room!  

When we think about it (which we try not to), it seems like we just brought him home and set up his nursery.  Even though we didn't set it up until he was about 3-4 months old since he slept in our room with us until he started sleeping through the night at 4 months.  
a few days old
Oh, and not to mention, we didn't know his sex until he was born.  :)

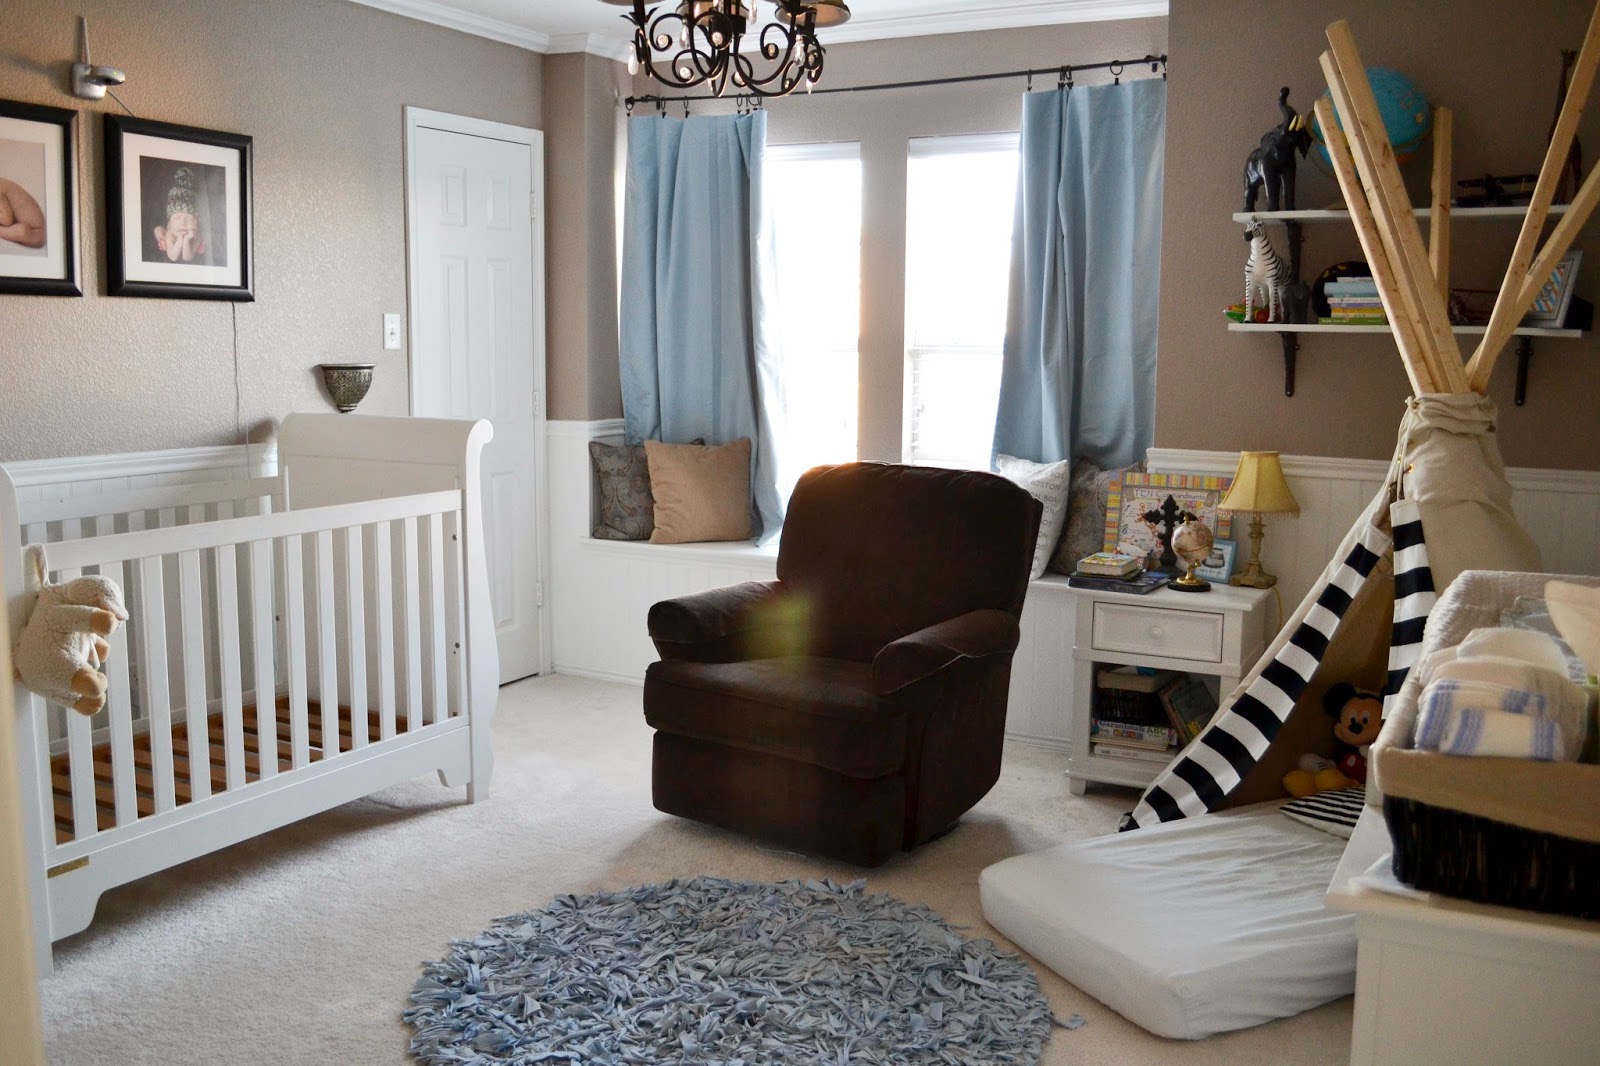
This has been his set up for the past 3 years.  It's been one of our favorite rooms in our house and we will definitely miss everything about his nursery room.  It had such a peaceful feel to it.  So bright and homey.  
Since he obviously was able to get in and out of his bed with a big leap over the rails, he began to veto his crib several months back.  So we took out the crib mattress and let him sleep under his teepee.  He loved it. 
Once he started to veto teepee sleeping is when the decision was made.  It was time.  Time for the big change.

This is his, "time to get the heck out of dodge, crib" face.  He was happy.  I was not.
Probably because he was ready to build something.  
In case we have another baby and want to use this crib again, we'll know where the screws will be.
And then this is what it looked like.   
Yeah, we still had his changing table up, too.  And what's even crazier is we would still change his diapers on it even though he was 10 feet too long for it.  
Let's talk bed.  We just miiight have splurged a little on his bed.  It was a more pricier one but the most comfortable one.  We hope that he'll be able to sleep in this bed for a long long while and wanted him getting good sleep in a comfy bed.  So we went the distance with this one for our little guy.
We couldn't leave the mattress store without a mattress protector for those "I was too tired to wake up so I peed the bed" moments.  #toddlers
Kid tested and kid approved.
The frame of the bed was actually purchased almost 2 years ago when our neighborhood had a community garage sale.  If you know me and have been following this blog, you know that I love searching garage sales, goodwill and craigslist in hopes of finding something to re-do.  So when we saw this toddler bed frame with a headboard and a footboard for $20 we scurried through my purse for some cash, handed it over to the lady and Jer loaded it up in the truck.  All in about 5 minutes.  

I knew I would be sanding it down and painting it but I still had a while until I had to decide what to do with it.  But we couldn't pass it up for 20 bucks.
When it came time to decide....I had my mind set on painting it bright white.  Like his crib.  And then, I I saw a navy bed on a Pinterest picture and I was sold. 

I knew it was meant to be when I saw this paint color December Eve while searching through Home Depot's navy colors.  Since, after all, we were in December when we revamped this bed.  Seemed fitting, right?  
One of my most favorite gifts I've ever gotten from Jer.  My electric sander.  l.o.v.e. love.  
Once it was sanded and wiped down, it was ready for paint.  
Typically I would apply a primer but since we were in a rush to get this done we went ahead and got our paint with a primer already in it.  Although, I did apply 3 light coats of paint for good measure.
The 4 corners of the bed had a hole on the top that obviously had some finials missing.  So Jer went to the fencing aisle of Home Depot and found some that fit perfectly on the corners.  
Before putting them on, we painted them by screwing them into a 2x4 so that they could stand up for easier painting.
The last thing I did was applied a coat of polycrylic to the whole bed.  This will seal the paint so that its chip-proof for a toddler.
I didn't paint the inside of the side rails since the box spring and mattress would fully cover it.
Here it is all set up in its spot.  He loves it, we love it and we couldn't be happier with the new color.  We call her December Eve.  So original, huh?  :)
BEFORE
AFTER
We kept his white nightstand from his nursery but added a new lamp.  A lamp from goodwill that I spray painted and added a new lampshade to.  

Up next (coming Wednesday)....how we applied the map above his bed.  Its so easy, anyone can do it.  No lie.  

xo
Related Posts Plugin for WordPress, Blogger...